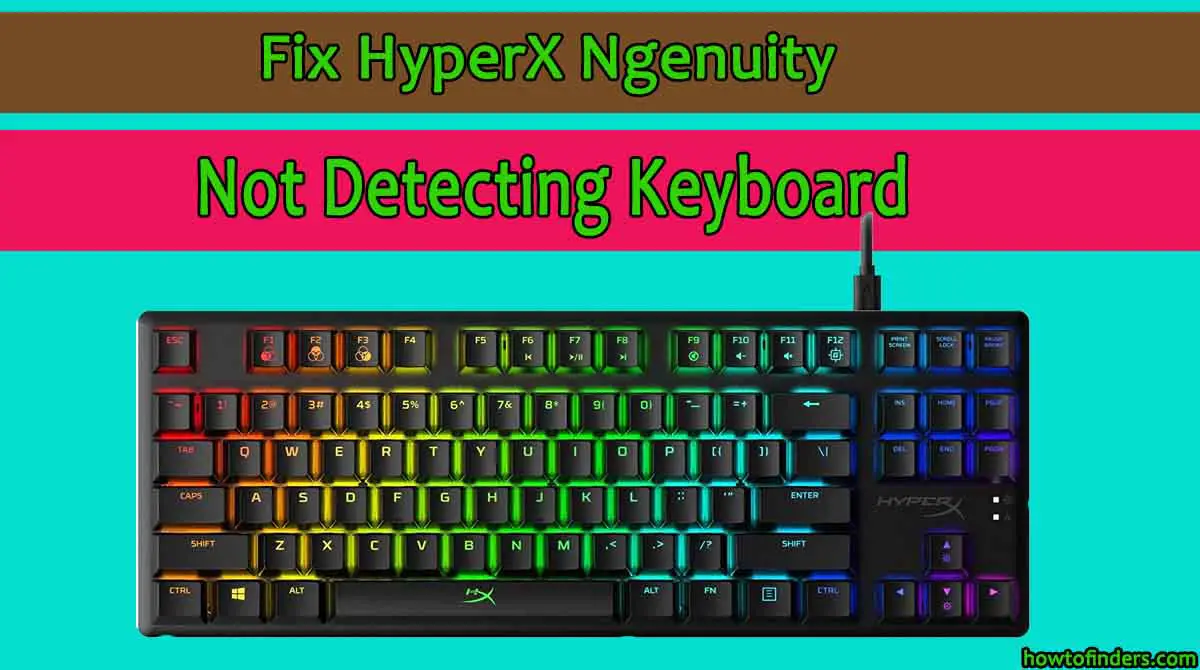
This article will explain how to Fix HyperX Ngenuity Not Detecting Keyboard so that you can get back to gaming and typing. HyperX Ngenuity is a powerful software which allows you to connect with other HyperX products and their features. It also provides you a lot of controls.
If your keyboard isn’t being detected by Ngenuity, check the connection at both ends to make sure it’s plugged in securely, and then follow the steps below.
There are 2 ways to Fix HyperX Ngenuity Not Detecting Keyboard, do whichever one works best for you. The first way is simply uninstalling the program and reinstalling it and this should work in most cases but if it doesn’t try method 2 below.
Table of Contents
ToggleCheck Device Manager
Before trying anything else, open Device Manager and make sure your keyboard is not detected. To do so, follow these steps:
1) Open Device Manager
2) Expand Keyboards
3) Right-click on each keyboard listed under Keyboards and choose Uninstall/Modify to remove them from your system
Then restart your computer and try connecting your keyboard again before proceeding with any of these fixes (if you had previously been unable to use it at all).
Repeat these steps for every item listed under Keyboards in Device Manager until you find one that allows you to use your keyboard.

Check BIOS settings
First, check your BIOS settings. Open your computer’s BIOS interface and be sure that USB legacy support is turned on. Some BIOS interfaces have additional steps you need to take; if so, look for an option labeled USB keyboard support or something similar.
If you don’t see anything like that, just make sure to check under Input/Output Devices for a setting that reads something like USB keyboard support (this will vary from manufacturer to manufacturer).
Once you’ve ensured that there is a setting for USB keyboard support and that it is set to Enabled, save and exit your BIOS and try connecting your keyboard again. If it still isn’t working, follow these next steps.
Update USB
First, make sure your keyboard is fully charged. Next, be sure to update your USB by going to Control Panel > Hardware and Sound > Devices and Printers > Right-click on ‘USB Root Hub’ (might be titled differently depending on your OS) and select ‘Update driver software.
From there select ‘Search automatically for updated driver software. This will ensure your USB is up-to-date with Windows. If you are still having issues after updating your USB drivers please contact HyperX support.
Reinstall the Software
If you are on a Windows machine, you can reinstall your drivers. Navigate to your Control Panel and then search for Device Manager (or find it using Windows Search.)
Once there, expand Keyboards and Mouse. The first two items should be listed as HID Keyboard Device and USB Input Device. Right-click these two entries and choose Update Drivers Software from the context menu.
Next, click the Browse my computer for driver software option in the next window and then select Let me pick from a list of device drivers on my computer.
Now select Microsoft Common Controller for USB after which point the only option left is HID keyboard device for keyboard selection dialog box will appear.
Change USB port
If your keyboard is not detecting, one thing you can do is change your USB port. Most keyboards connect to a computer via a USB port located on a back of a desktop computer or laptop. Check that your keyboard is connected properly to another USB port and see if it works.
If not, then you’ll need to contact your manufacturer for help. Try looking online for troubleshooting guides or forums. You can also try connecting your keyboard to another computer, if possible.
Sometimes all it takes is trying out different cables, ports, and computers to fix any issues with detecting or connecting your peripheral devices like keyboards.
Run the software in administrator mode
In order to get your keyboard working with HyperX Ngenuity, you will need to run it in administrator mode. To do so, right-click on HyperX NGenuity and select Run as Administrator.
This will allow you to calibrate your keyboard correctly. Here’s how
Open up HyperX NGenuity by double-clicking on it. You should see a new window pop up that says Keyboard not detected. If you don’t see that window, close out of everything and try again.
If you still don’t see anything then make sure you’re running in administrator mode (see above). Once you’ve got a blank screen that says Keyboard not detected, go ahead and close out of everything again.
Also read: Change Redragon Keyboard S101 Colors Fixed
Conclusion
To fix your HyperX Ngenuity not detecting keyboard issue, simply unplug and re-plug your device. After doing this, you need to follow the steps mentioned in the article. If you followed the steps as written, you would get the problem solved.
Hope you will be able to connect your keyboard again after going through the article. If you really did, do let me know in the comments section.