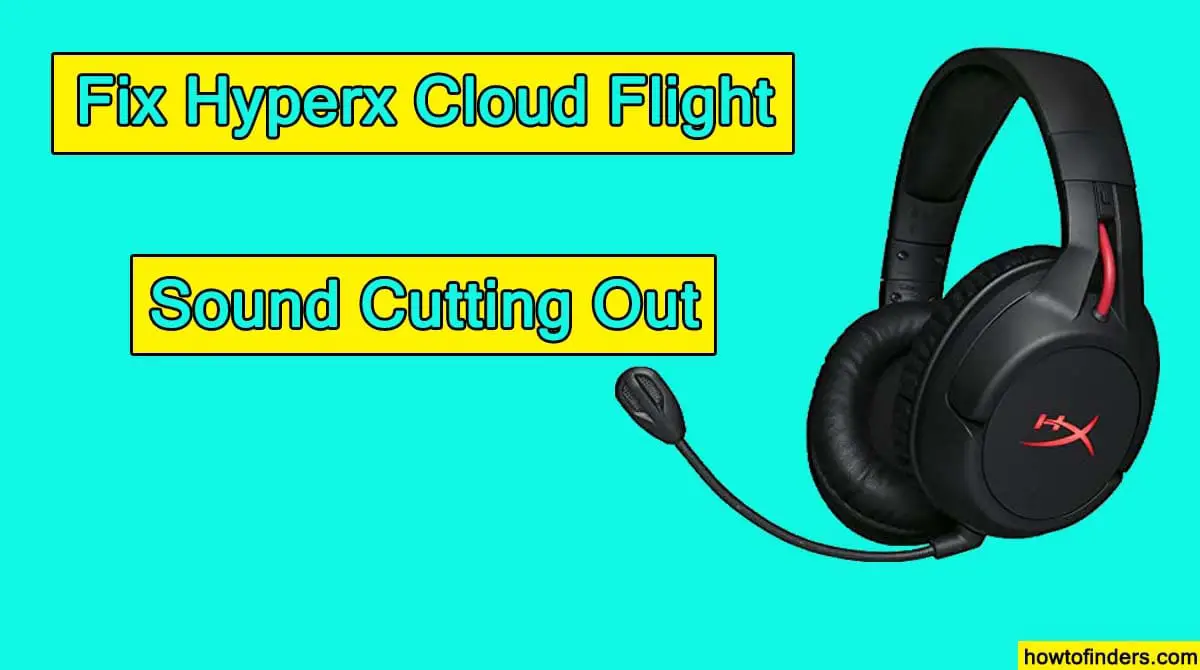
The HyperX Cloud Flight gives you impressive long-lasting wireless gaming freedom. It’s the first free-standing Qi-charging wireless gaming headset.
You can adjust the balance of the game and chat volume easily by pressing the onboard controls. You can enjoy watching movies with this amazing headset.
The HyperX Cloud Flight has come with very less issues in it.
The most common problem with The HyperX cloud flight is Sound Cutting Out. If you playing a game or watching your favorite movie and the sound cuts out, it’s really depressing.
We discuss some are the solutions here with you. All these steps will help to fix the issue.
Table of Contents
ToggleCheck for the Reason for Sound Cutting out
In the beginning, we have to check the reason for the sound cutting out from HyperX Cloud Flight. Maybe the audio which you are playing has some distortion or sound is cutting from it and you think it is the fault in your headset.
Play a few different types of audio from youtube or any other audio sources. Like watching a YouTube video, even playing a game.
If still, the Sound is cutting out then we use some other methods to fix it.

Check Hyperx Cloud Flight is fully Charged
Make sure that your Hyperx Cloud Flight is fully charged before you use it. A less charged Headset can be the reason for sound cutting as well.
Always remember that don’t use the device while it is plugged in and in charging mode, also do not remove the charger until the device is fully charged.
Changing the Port
Now you need to check your computer. Change the port and play music in it. If you have another computer, available at home then you try to plug in your Headset to that computer and test it by playing music on it.
If still issue is the same then there is some fault in Headset.
Power Off and ON your Computer and HyperX Cloud Flight
- Restart your Headset and computer
- Remove the Headset from the computer while it is still on
- Restart your computer
- If there are any updates available
- Install all the available updates and wait for them to complete
- Maybe your computer needs to be updated, like its driver or any other feature
Power on your Headset and connect again with your computer and check the audio. Sometimes with this method Headset sounds work properly.
How to Update Hyperx Cloud Flight
- Connect your Headset to a USB port on the PC by using a micro USB cable
- Set a wireless connection with a USB wireless adaptor to a USB port on the PC
- Run the Hyper X firmware updater
- When the application is ready you click the Update button
Reset Hyperx Cloud Flight Headset
- First, go to Control Panel and select Hardware and Sound
- There you select the option SOUND
- If the HyperX Flight Audio is not currently the default audio device
- You need to right-click on the option and select Set as Default Device
- Should place a green checkmark to the default audio device
- By doing this you can Reset your Hyperx Cloud Flight Headset
Also Read: Single Jack Headset Mic Not Working Issue Solved
Final Thoughts
In this article, we provide you with plenty of solutions to fix your Hyperx Cloud Flight Sound Cutting Out. One of the solutions will work for you and you are able to fix it at home.
Some users around us who do not bother to fix their Headsets throw them away. We suggest working through the solutions and trying to resolve the issue inside your Headset.
Hopefully, this article will help you to figure out your Headset sound cutting issue and you can solve it in less time by applying all these methods.